Friday, December 06, 2013

A couple examples of gifts that students make at the fiber center 

Thursday, December 05, 2013

Blocks


Bigger room=more space for block building!

I am in a larger classroom this year, which gives my students more space to build interesting structures. Students of all ages enjoy working with blocks at our architecture center.  

Thursday, November 28, 2013

A second grader, thrilled about being an aunt, worked for four weeks to sew this stuffed animal for her nephew's birthday. The amount of effort, time, and thought put into this was wonderful.

Wednesday, November 27, 2013

Green owl

A little green ceramic owl painstakingly painted.

Tuesday, November 26, 2013

I wish I could've gotten a better photo of these pieces. Two third graders have been working on these on and off since their first day of art this year. They are pillow pets, complete with tabs that you tie to transform them into pets.

Sunday, November 24, 2013

What a lively painting! The second grade artist added layers over the course of three weeks.

Living room

A tiny living room, crafted from clay. "I painted a smiley face on the rug; I've always wanted a rug like that."

Wednesday, November 13, 2013

Construction center

Craft sticks and cardboard transformed by a first grader.

Thursday, April 18, 2013

Engineering

Fifth grader created this boat, complete with rudder. "I got the idea to make a boat when I saw my friend make one. It was going to be a Viking ship, but it changed. I'm pretty happy with it!"

Saturday, April 13, 2013

Gift making

A common theme in our artroom is giftmaking. I'm quite delighted with the results! This first grade artist made a pillow for his baby brother

Creations

Busy Artists!

This softie was made by a second grader. He used some beans as well as stuffing, the beans were used, "to make it so he can stay sitting up on my bed." He's got a cape tied around him.


"These two people are sitting on the couch. They're happy."


It's hard to see from the photo, but this sockpet has high heeled shoes, a skirt, and even a handbag!

Thursday, April 11, 2013

"The Eye" painted by a fifth grader

Tuesday, January 29, 2013

"It's a puppet guy, Puppet Master, from a show. He's just in the egg carton while he dries, it's not part of him."


"It's a germ, made out of clay, and he is in a cage."


This little sock softie was sewn by a second grader. "She's a girl, her name is sockie."


"This guy is made of fruits. I did it because I'm really hungry and was thinking about food." Of course, after I saw this, I was able to squeeze in a mini art history lesson about Arcimboldo. The second grader's eyes lit up when I showed him examples of Arcimboldo's work.


Another sock softie. These guys are just too cute, and the kids aren't showing any signs of slowing down. I'm impressed with their diligence, especially because sewing the button eyes on is very challenging.

Thursday, January 03, 2013


The fifth grader who created this had never worked with clay before. He explained to me that he wanted to make a head, and I told him that it would need to be hollow. I demonstrated how to make two pinch pots and attach them. He caught on right away. I was impressed with the result.


"My mom's taking me to a farm and this is what I think it will look like. Horses, people. This side is daytime, and this side is night time."
-second grader


After amassing dozens and dozens of worn out/mateless socks (donations from Bountiful Elementary families), I opened a mini center yesterday--sock softies. I did a short demo on how to cut the sock, using this great diagram that I found on pinterest. (Unfortunately, I haven't been able to track down the creator of this diagram)  Many kids dove right into making their own sock creatures.
This softie, named Billy isn't finished yet, according to his fifth grade creator, "I want to give him some hair. Yarn hair, maybe black or blue."


 I asked the first grade artist about this ceramic piece, "What can you tell me about this?" He looked at me with a pitiful look in his eyes, "Tell you about it? It's a car! Don't you see? There's the windows, and that's the door."


Two first graders painstakingly sewed pillows. One told me, "I've never even sewed before! My mom and dad will be so s'prised! They don't know I can sew! And this pillow [top] will be for my doll that sleeps in my bed." The other told me, "I wanted to make this pillow for the poor children that don't have toys or anything. But first I hafta finish this one for my brother. I already gave him one and he slept with it, but it got lost. And he was sad. So I'm gonna give him this one, and then, next art time, I can make more to give away."

About Me

My photo
Bountiful, Utah, United States

How does TAB work?

To implement TAB, I began with 1 center--the drawing center. It contains different drawing media: pens, pencils, crayons, markers, pastels, chalks, as well as various papers. Also included are dozens of different "How to Draw" books. We discuss as a class what artists draw. Some draw real things, or pretend things, or non-objective designs.

I also discuss the variety of drawing media available, and explain how to clean up.

It is amazing how much the kids enjoy this. I've recently added plastic animals and dinosaurs for the kids to look at while they draw.

The second week, I introduced the collage center, containing colored paper, glue, glue sticks, staplers, scissors, brads, and fabric.

I showed them some collages by Romare Bearden, as well as many student created works. I had to tell them how to determine what adhesive to use, and showed them the stickyometer poster.

They could then choose to go to the collage center, or the drawing center. The kindergartners LOVE the collage center. I love to watch them create. They are so free, so unlimited.

The third week, I opened the watercolor center, with watercolor pans, brushes and paper. The main focus for me was to teach them how to care for the brushes, put on smocks, and where to put their work to dry. They could then choose watercolor, drawing, or collage.

I kept it with just three centers for a few weeks (I see them once a week). It's important for them to learn to care for their supplies and the classroom. But while I wasn't introducing new centers, I did introduce new materials into existing centers, explaining their use (for example, I added whiteboards and markers to the drawing center). I also demonstrated new techniques (crayon resist with watercolors). And I've even started to integrate art principles and elements. Of course I included numerous examples and prints from to reinforce the concepts.

With those three centers humming along, I added the clay center. I did a super brief demo, showing them how to work with it. I did tell them that they could simply create with the clay and not try to keep it, or they could create things for me to fire in the kiln. I gave them admonitions like: "Clay can't be thicker than your thumb, or it will take too long to dry." and"Be sure to join any attachments securely". (Which we all know is MUCH easier said than done!)

Of course, the day I introduced clay, ALL the kids wanted to use it, but I had to limit it to eight. The kids grumbled a bit, but soon were off to other choices (it helped that I introduced craft sticks and chenille stems at the collage center!).

I tried to be as hands off as possible at the clay center. I stayed at the table with them, giving demonstrations as necessary. Joining clay is very difficult, but the determined kids will learn. One third grader created an adorable dog with toothpick thin legs barely hanging on. She wanted me to fire it. I knew there was no way that those pitiful little legs could hang on, I said, "Okay, but you'll need to put it on the shelf to dry." The shelf was only a couple of feet away, but poor little dog was legless by the time he got there! I will admit I felt more than a little coldhearted, but really, this is the only way for them to learn! The student sat with me, and I demonstrated joining and adding just a bit of moisture for her. She worked and worked on that dog, and it finally came together.

After clay was going (it took several weeks for all the students to have a chance, and I stayed at the clay center so they could all have some individual instruction), I was free to add some more centers.

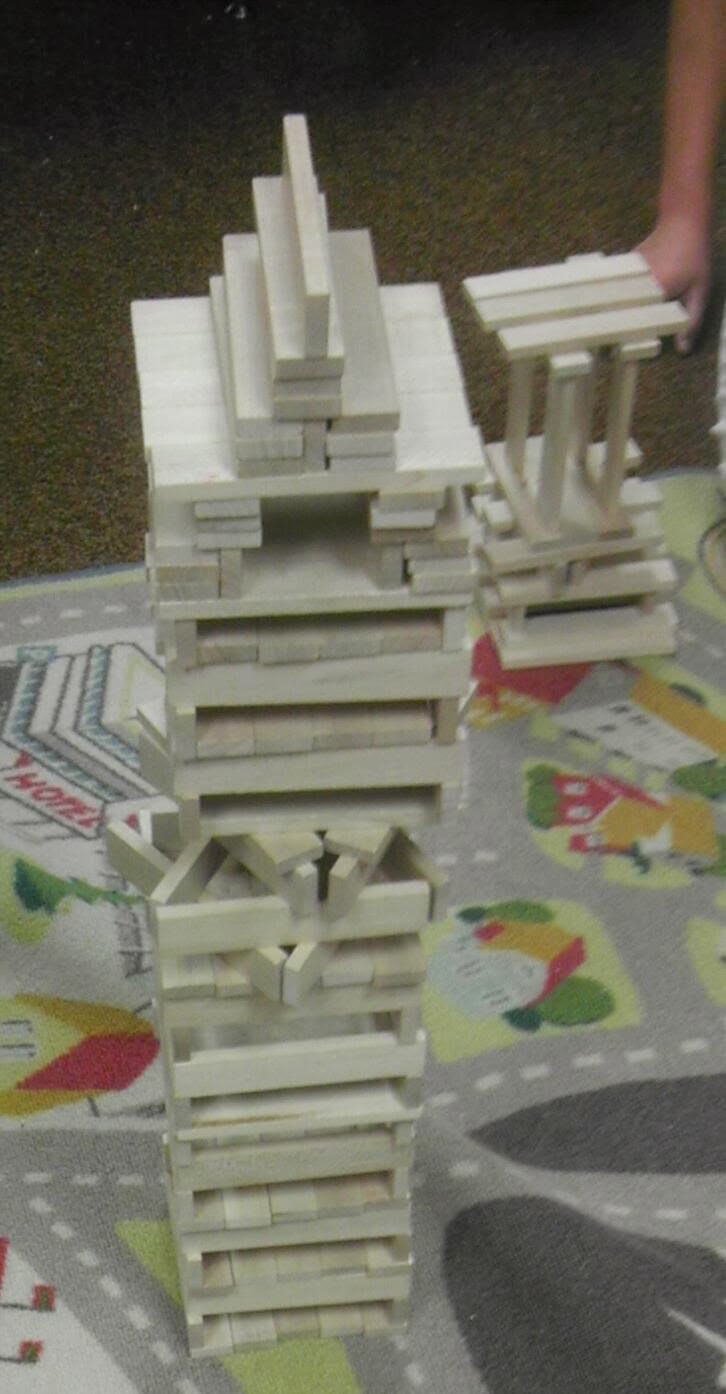
First, I added painting with tempera paints. Next was the architecture or "temporary art", containing legos, blocks, cuisenaire rods, magnets, mosaic boards, and geoboards. This is where the students learn hands on about spatial properties and design elements.

I introduced the fiber center, with weaving and sewing. Kids truly enjoy this one, but they do need significant hands on instruction (especially threading the needles!) and I've put this one away for a bit.

The collage center was joined by the construction center. They can use cardboard, small boxes, and other castoffs to create. Kids have made houses, boats, star wars aircraft, cameras, and so much more here. Their adhesive of choice, though, is tape. Rolls and rolls and rolls of tape! I've spent some time with them, encouraging them to use some of the glues we have, or even to paper mache over the tape, but very few takers so far.

Now, midway through the year, with many centers going, I can work with the students on some art history and appreciation.

TAB is truly a wonderful teaching method. The kids can create things because THEY want to, not because I (or some other teacher) think they look neat. The energy and excitement in the room during class time is thrilling! I LOVE my job!

Blog Archive

A different approach to art education:

TAB stands for Teaching Artistic Behavior It is a research-backed, student driven method. Kids are taught a new concept, technique, or medium each class period, and then are able to choose what art to make.

The idea is to teach them to work like artists. We talk about how artists get ideas, where they get inspiration, and how they behave.

I teach using the district curriculum, find it here.